
Beginner Guide:
Your First Runs Without Wasted Upgrades
A first-run route for RIG Riot: learn movement, choose upgrades that work with your current kit, survive objectives, and bring useful progression home.
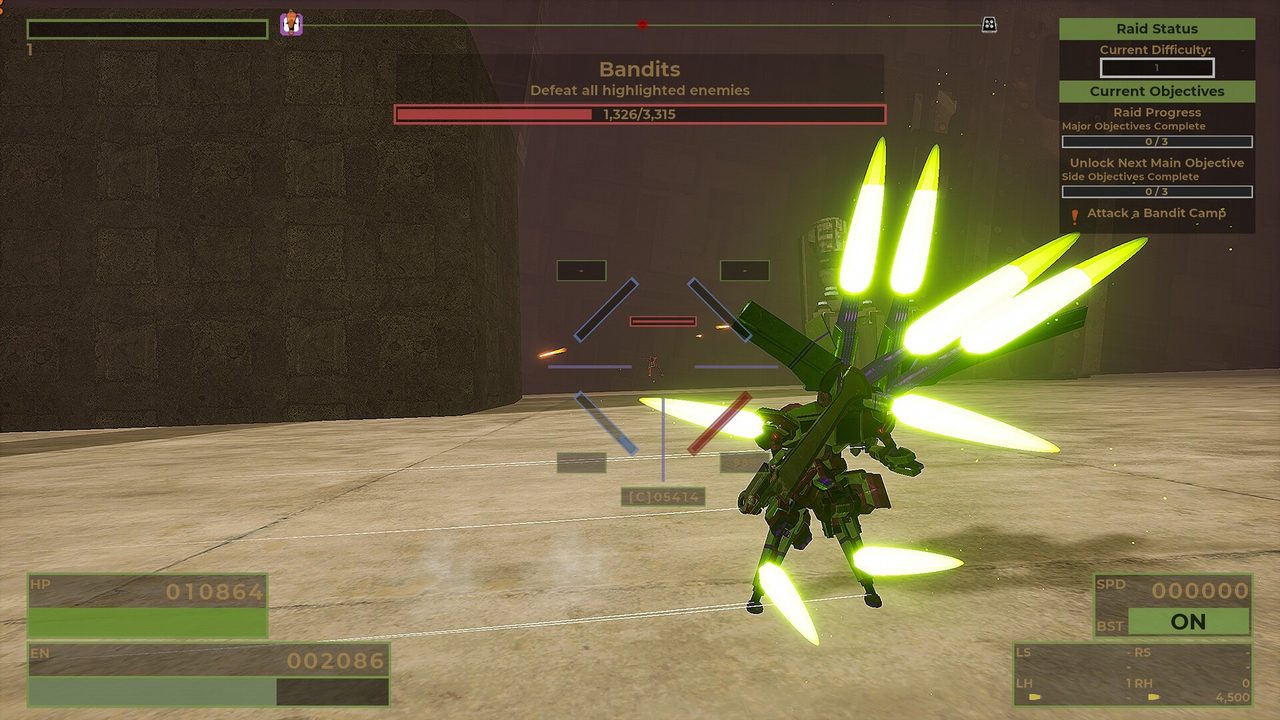
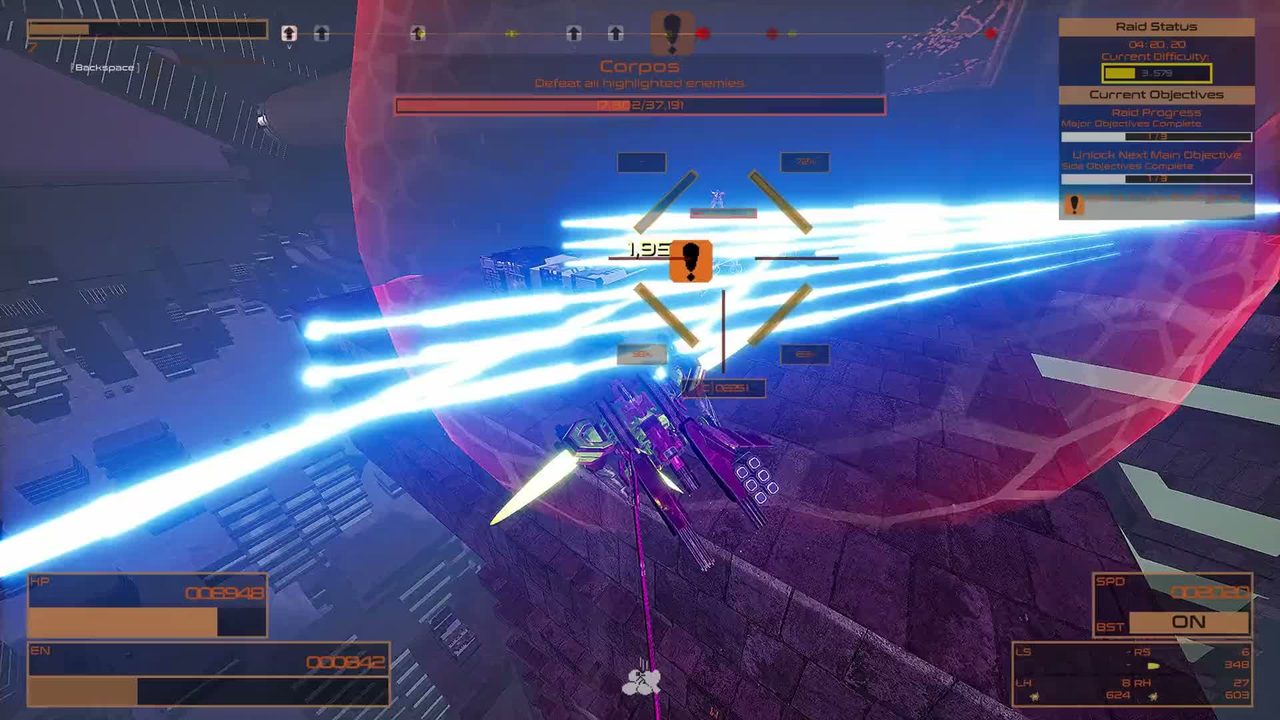
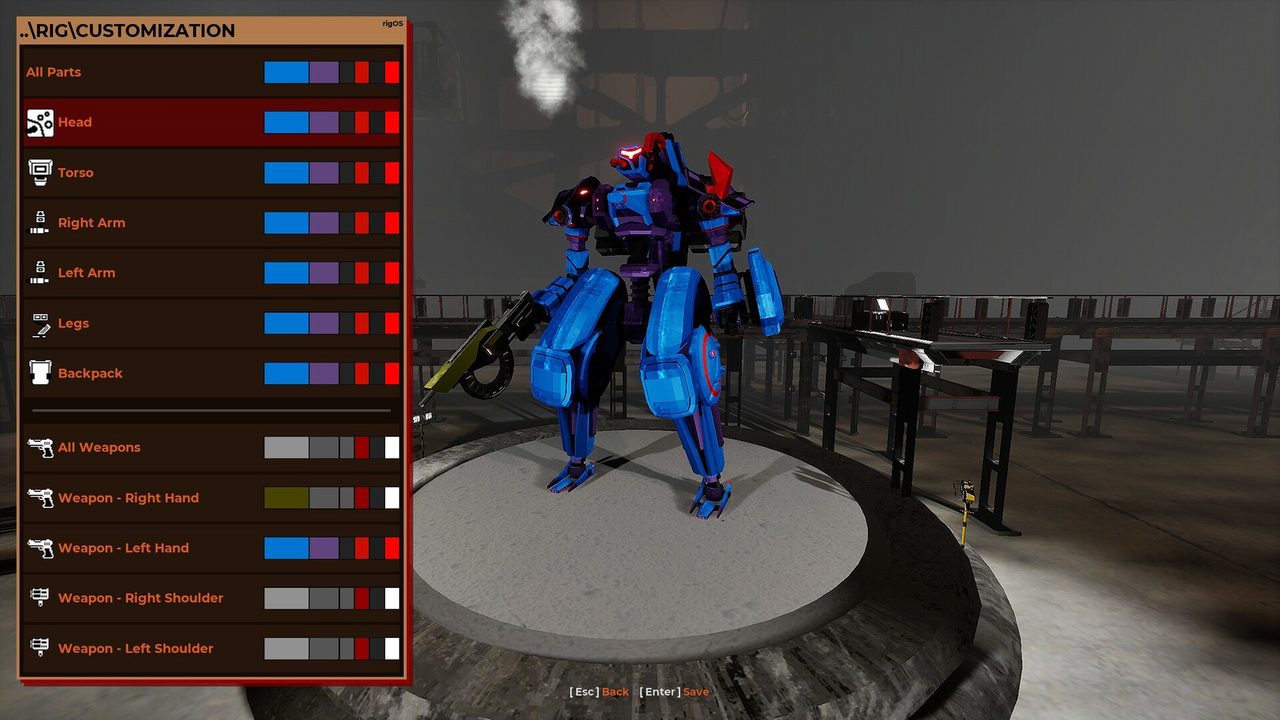
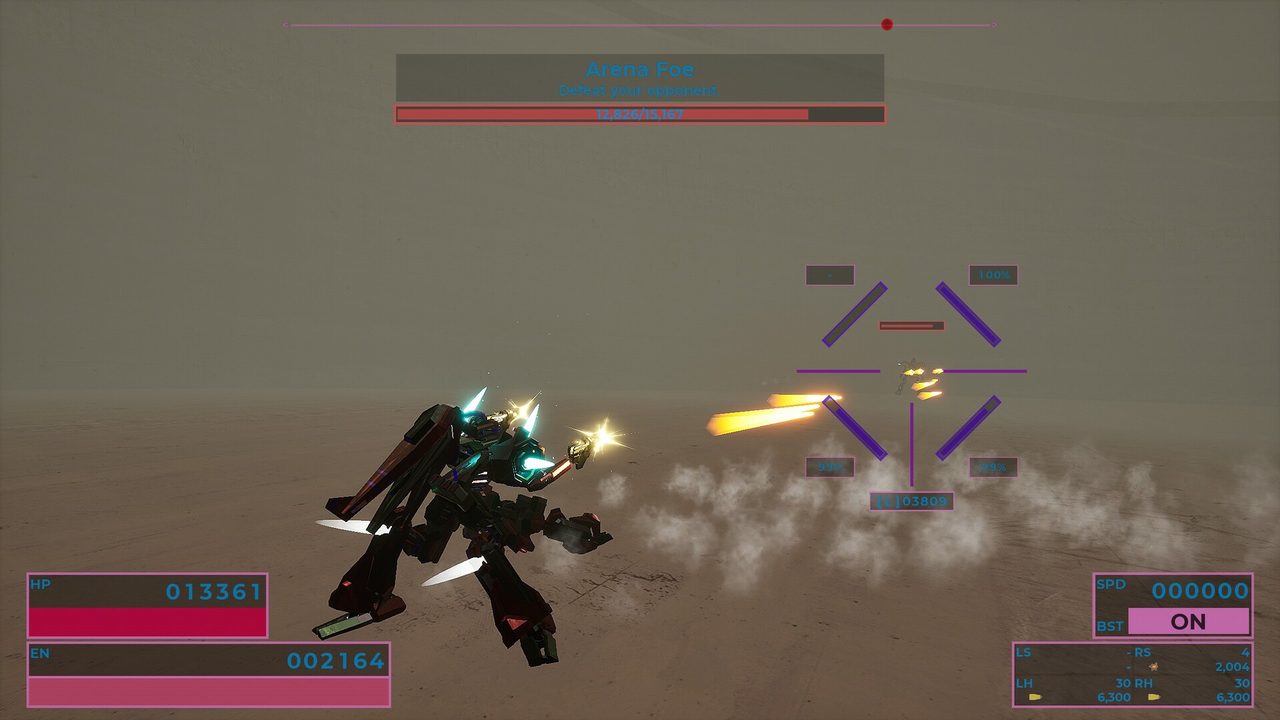
Your first run has four jobs
RIG Riot throws movement, weapon slots, temporary upgrades and permanent RIG parts at you quickly. Do not try to solve every stat on run one. Use a four-step loop: move cleanly, keep one damage plan, finish objectives, bank useful progress.
Learn the movement verbs
Separate normal boosters from dash boost, flight boost and turbo boost. If you mash all of them as one system, energy management feels random.
Choose a damage job
Precision at range, sustained mid-range fire, or close pressure. Upgrade the slots that serve that job instead of collecting unrelated effects.
Read the objective height
Objectives can sit on another floor. The current compass includes above/below arrows; use movement tech rather than circling the marker on the wrong level.
Leave with something useful
Temporary raid power disappears with the run; permanent parts and progression shape later RIGs. Judge risky fights against what you have already earned.
Which starter RIG should you pick?
If you simply want to learn systems, the Scrapper-style middleweight is the cleanest baseline in the current release-parity demo footage. Scout leans quick, light and aerial; Knight leans sturdy, slow and close-range; Expendable is described as deliberately poor and is closer to a challenge start.
| Starter direction | Best for learning | Main risk |
|---|---|---|
| Scout-style | Range, air movement, evasive play | Can punish weak energy discipline |
| Scrapper-style | General systems and flexible weapons | Easy to become unfocused |
| Knight-style | Close pressure and durability | Needs a plan to close distance |
| Expendable-style | Challenge runs | Starts with obvious weaknesses |
The upgrade test that prevents most dead picks
Before taking a Weapon augment or Volatile Mod, ask one question: “Can my current RIG trigger this often?” A powerful effect that needs a status, damage type or range condition you rarely produce is not actually powerful for this run. Reliable trigger frequency beats theoretical ceiling during early runs.
Beginner mistakes worth avoiding
- Staying airborne forever: tutorial text says energy recharge delay is longer while airborne. Land when energy, not enemy pressure, becomes the bottleneck.
- Chasing the marker on the wrong floor: check the compass above/below indicator first.
- Turning every pickup into a new build: keep one main damage plan until a genuinely stronger synergy appears.
- Reading green numbers as “better”: a part is better only if its tradeoffs fit your movement, load and weapon plan.